Thursday, September 18, 2014

A Tale of Two Boxcars- Part 2

In Part 2, we'll look at some modifications to the Atlas RBL boxcars that will make them more reliable in operation and a few missing details. 

The first step was to replace the truck screws by drilling #50 holes and tapping them to accept #2-56 screws. I wanted to make sure that there wasn’t a solid weight above the bolsters, so I removed the roof by gently inserting a knife blade under the edge as shown in the photo below.


Neither roof was glued in place and both came off easily. I was surprised to find what is used for weights in these cars- two large nuts that are glued in place over the truck bolsters as shown in the photo below.


With the roof removed, it was evident that nothing would interfere with drilling and tapping the truck bolster as described above.

The Atlas car comes with Accumate couplers which are secured in the coupler box by a cover with a small pin cast into it. The pin fits into a round casting on the coupler box. I use Kadee #5’s or 58’s exclusively, so I needed to change the couplers. One of my freight car standards is to make sure that all couplers are secured in place with screws which insures that no couplers will break loose during an operating session. It also makes replacing them a cinch. To remove the couplers, I gently inserted a #11 Exacto knife blade under the coupler cover to pry it loose. The cut levers are glued to the cover but a gentle prod with a #11 knife blade will break them free. After removing the coupler,  I marked the location of the pin on the other side of the coupler box cover. I put the coupler box cover back on the coupler box and used a #50 drill bit to drill a hole through the coupler box cover and the coupler box. After tapping the hole to accept a 2-56 screw, I placed the Kadee spring and coupler inside the coupler box and secured it with a small 2-56 screw.The photo below shows one of the coupler box covers removed and the new Kadee coupler installed.


Once the couplers were installed, it was time to address the bright yellow color on the bottom of the car. While it may have been painted this way when the car was new, it wouldn’t take much time in regular service to acquire a solid coat of grime and dirt. To simulate this, I masked the sides and ends and sprayed the bottom with Rust-Oleaum camouflage brown. This paint comes in a spray can and is available at most home improvement stores. It dries perfectly flat, works well on plastic, and is a great dirty brown color that is perfect for the bottom of freight cars. The paint comes out of the can very heavy, so a few light passes are needed to get adequate coverage without building up too much paint. The photo below shows the bottom of the car after the paint has been applied. Note that some of the yellow still shows in a few areas. My goal was to make sure that everything visible from any normal viewing angle would be covered. In the event you wanted to cover every nook and cranny, you could decant a small amount of paint into a bottle from the spray can and use a small brush to hit those areas.


For the base coat of weathering on the trucks, I sprayed them with the same Rust-Oleum camouflage paint that was used on the bottom. I like to spray the wheels and axles while they are mounted in the trucks as it prevents any paint from accumulating inside the journal boxes and keeps paint away from the end of the axles. You can see the super custom, extremely expensive, ultra high-tech painting jig that I made in the photo below.


There were two fairly obvious detail omissions that needed to be corrected before weathering the car. This car comes with an early version of the consolidated stencil and a shop date of 12/75. Any car with these markings would have had an ACI (Automatic Car Identification) label which was mandated by the F.R.A in 1968 and was to be installed on all equipment by 1970. I used old Herald King ACI labels, which are no longer available, but you can get them from Highball Graphics. The second missing detail item is the tack boards on the side of the car. I had some in one of my parts boxes, so I mixed some yellow and orange paint to match the color of the car, painted the tack boards and then mounted them on the side to the right of the reporting marks. The photo below shows both of these details added to the side of the car.


In Part 3, I'll describe the weathering techniques used to get this car ready for service.


Monday, September 15, 2014

A Tale of Two Boxcars- Part 1

Anthony Hardy, a regular operator on the Chesapeake, Wheeling and Erie, recently came across some CSX material that had been given to friend by a gentleman who retired from the railroad. Included in the box was a customer listing for the EK Subdivision of the Louisville & Nashville Railroad. The photo below shows the document.


This document started an e-mail exchange about the various customers, and in particular the Jackson Wholesale Grocery in Jackson, Kentucky. According to Anthony and several other friends, all of whom grew up in the area and have studied the operations of the L&N, it was common to see reefers and insulated boxcars spotted at grocery wholesalers throughout the coal fields up until the mid 1980’s. In fact, another one of the regular members of the CWE crew, Stuart Thayer, had actually taken some photos of a local working Jackson Wholesale back in 1985. Below are several of the photos that he passed along.


Based upon this conversation, several of the branches on my layout now have grocery wholesale customers.  All I needed was some cars for this service.

At the same time this conversation was taking place, I came across an advertisement for an Atlas 50’ insulated plug door boxcar. This car is part of the company’s Master Series line and the detail is just fantastic.


Everything about the car is extremely well done and there are many individually applied detail parts. Even the locking mechanism on the plug door is a separate part. It appeared these cars would fit the bill for the grocery wholesale service on the branches, so I picked up two of them lettered for RBNX.

This car would work just fine right out of the box. But before I put any cars on the layout, I like to make sure that they meet certain standards that I have established for all of my rolling stock. I also make sure that they are weathered appropriately as I’ve noticed that once cars get on the layout, the likelihood that they will be pulled off for weathering decreases with each operating session. In Part 2, I'll make a few minor changes that will improve the performance and looks of these nice cars.


Wednesday, September 10, 2014

The K&LE on TrainMasters TV

John Miller's incredible Kanawha & Lake Erie layout is featured in Act 1 of the September edition of TrainMasters TV. Here's a link to the preview: http://trainmasters.tv/video-player/tmtv-2014-09-act-i-preview. You can also see more photos of Johns layout on the MRH forum by following this link: http://model-railroad-hobbyist.com/node/14081. And the next link will take you to photos on the forum of the large steel mill complex on the layout: http://model-railroad-hobbyist.com/node/14244.

The photos on the MRH forum don't begin to do justice to the layout and certainly don't convey the enormity of the railroad. And everything is beautifully done. John has a real eye for color and weathering and his structures are unbelievable, both in terms of quality and quantity. And no post about the K&LE would be complete without commenting on the size of the freight car fleet. John claims that he actually doesn't have one of every freight car that's been manufactured over the last 30 years, but few of us believe him. In fact, we know he actually has two or more of many of them...

If you want to hear the story behind the K&LE and see some great video of the layout, check out the September edition of TrainMasters TV.

Sunday, August 24, 2014

Op Session on the Forest Park Southern

On Saturday, Bill "Smokey" Doll hosted an operating session on his beautiful Forest Park Southern layout. The layout was featured in Model Railroader last fall and can be seen here on Trainmasters TV: http://trainmasters.tv/videos/2014-05-2-tmtv-may-2014-edition-act-ii.

Coming up the driveway, we knew we were in the right place.


Anthony Hardy brought this old sign along and placed it where everyone would see it. Works much better than having an actual street address. And while you can't read the belt buckle in the photo, you know what's written on it- SMOKEY.

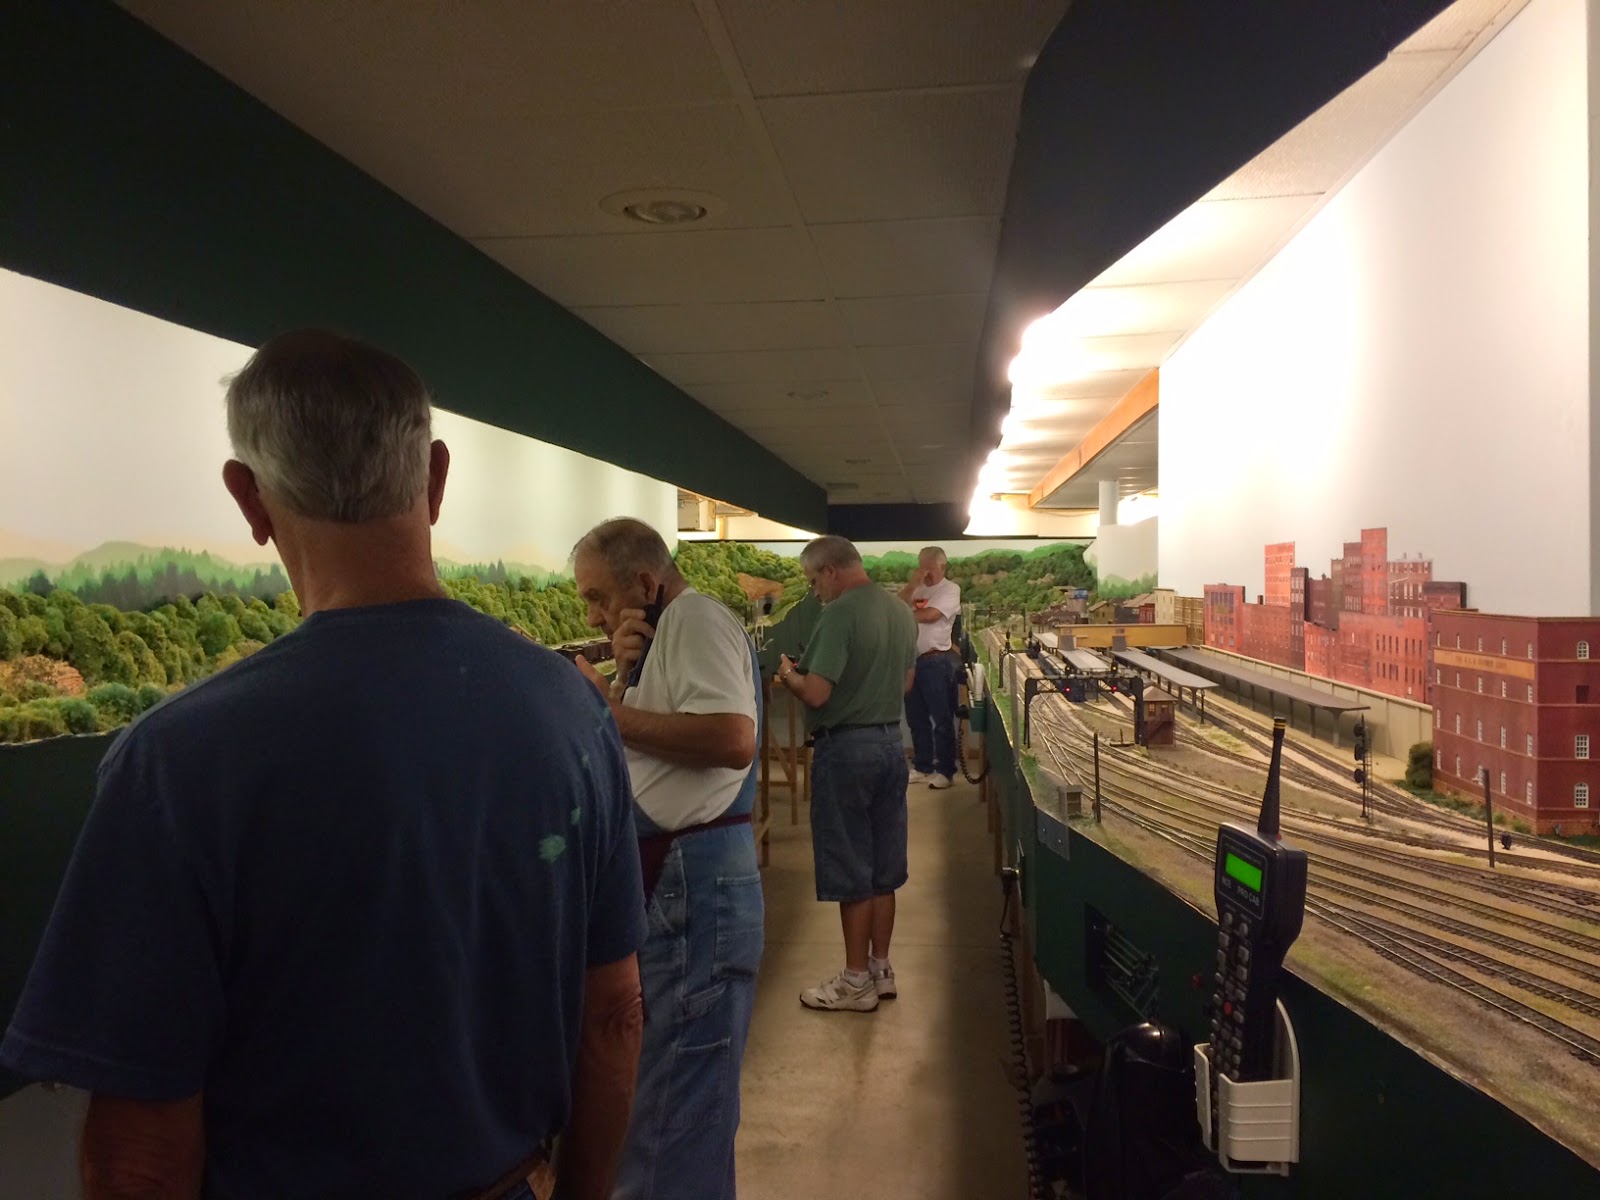
In the shot below, the Train Master has entered the room, complete with his rock star t-shirt, while Bob Bartizek works the local in the Gateway Industrial area. The top staging on the right represents Beckley, WV on the C&O while the bottom staging is Williamson, WV on the FPS.


Trains off the C&O swap power and cabooses either at Random Yard or at the yard at Flowing Springs before proceeding east on the FPS. The photo below shows Paul Miklos moving some power out from the house at Flowing Springs for an inbound C&O train. Paul has a triple deck, N-scale layout depicting the B&O from Cincinnati east to Chillicothe, OH that operates using time tables and train orders.


The next shot shows Jim Rollwage observing the action at Bedford as George Roos and Anthony Hardy coordinate a meet. In the background, John Miller is taking a quick nap. On the right side of the picture is the passenger station at Flowing Springs and the west end of the yard.


The yard at Flowing Springs sees a lot of action during a typical session. In the next shot, Jim Rollwage is getting read to work an FPS freight being brought into the yard by Paul.


The yard at Random is used primarily to serve the coal branch that leaves the main at the west end of the yard in addition to the local industries. Stuart Thayer, one of the charter members of the Coal Trucky Hopper Gang, is working the yard in the photo below. On the far left of the photo is Keith VandeStadt who is moving a train through Random on the main. Keith is the creator of the Suffolk Northern, a free-lanced, HO scale coal hauler set in the mid- 1950's.


Also working at the yard at Random is Chris Wermuth. In addition to his usual duties as Yardmaster at Random, Chris designed and implemented the CTC signal system on the layout using JMRI's software. 


The dispatcher's office's is located in a small room off the crew lounge. In the photo below. Bob Zoellner (on the left) is keeping a watchful eye on the CTC panel in his usual role as dispatcher on the FPS.


Next up we see George Roos (on the left) and Robby Vaughn waiting to take another train over the road.


And a post about a session on the FPS wouldn't be complete without some railfan shots.


The pictures don't do the layout justice- it really is incredible. Thanks again, Bill, for a great session!

Friday, August 15, 2014

So, what have I been up to?

This past week, several friends and I were trading e-mails detailing all of our latest model railroading exploits. While I certainly haven't accomplished as much as they have, I thought I'd post an update to show what's taken place since the tipple at McHenry Coal was rebuilt.

Operations on the layout are finally at a point that we're using three of the four tracks in west staging and three of the six tracks in east staging. The remaining three tracks in the east staging yard are shorter than all of the other staging tracks by several feet due to their position on the yard ladder. This is something I've wanted to fix for some time. I remember thinking when I originally built the staging yard that I might have to come back and address the shorter tracks at some point. But once again, it was a case of building something today versus taking a little time to plan first.

The photo below shows the extension of the east end of the east staging yard. All of the tracks are at least 15 feet long now and several are considerably longer. One or two of the longer tracks will probably hold a caboose hop in addition to a staged train at some point in the future.


In one of the e-mail exchanges, Anthony Hardy asked if the top deck was going to be extended in the same manner. The short answer is yes, and this will potentially provide another six east end staging tracks. But the question started a discussion about how many trains in total the layout will be able to handle during a session. I really have no clue at this point but it will be fun to see how this develops over time. The question also started a discussion about extending a couple of staging tracks along the wall to right in order to accommodate a few more tipples. This is a definite possibility- more to come on that in the future.

At the end of the last op session it became apparent that one of the point rails on the turnout between west staging tracks 9 and 10 was misaligned. Since I would have to get all of the tools out to fix it, I decided to go ahead and build the turnouts for tracks 6-8. The photo below shows the progress so far.


Once tracks 6-8 are in service on the west end, the railroad will have 6 fully operational staging yard tracks on the east end and 7 on the west end. Time to get busy building some more locomotives and rolling stock. And time to take the box back over to the K&LE in order to "acquire" some nicely weathered freight cars...

Wednesday, August 6, 2014

Vandals Destroy Tipple on CWE

In what can only be called a blatant act of vandalism, a campfire built and left unattended on the load-out tracks of the McHenry Coal Company tipple at Irma, West Virginia has burned out of control and completely destroyed the mine structure. The building burned throughout the evening of July 19th and by the next morning, nothing was left. The photo below shows the former location of the mine after the company removed all of the debris from the fire.


The mine had been loading six to eight cars of coal per day and its loss will have a significant impact on McHenry Coal Company. In a statement issued by the company, officials said they are uncertain whether or not the structure will be replaced. The mine is located at the end of the Sand Fork Branch of the Chesapeake, Wheeling & Erie Railroad.

Local authorities are searching for the perpetrators and are confident they will be apprehended. Numerous leads have been received and more are expected in the coming days. The photo below was taken on the afternoon before the fire by local railfans who subsequently gave it to the local sheriff's department. There apparently was nothing amiss when this photo was taken.


An anonymous individual sent the photo below to the sheriff's office and it appears to show the perpetrator and the campfire. "This kind of information is extremely important in our search for the vandals, and we're confident they will be apprehended and prosecuted to the fullest extent of the law.


The sheriff's office has said that Smokey Doll is a person of interest in this case and they expect to apprehend him for questioning today. He was reportedly in the area at the time of fire and is known to have been associated with numerous other questionable fires in the past. Said an official of the CWE "Smokey would be better served looking for fires on his own property rather than roaming around this neck of the woods." The official was referring to the mysterious fire along the Forest Park Southern that has been burning for almost a month now. 

Saturday, August 2, 2014

L&N 105509

About six months ago, I picked up a couple of Athearn Genesis 60' auto parts boxcars decorated for the L&N. These cars came from a collection at Tim's Trains and Hobbies (http://www.timstrainsandhobbies.com/). In addition to having one decorated for the L&N, I figured I could strip the other and decorate it for the home road. These are beautiful cars and were in NIB condition. At $15 a piece, I couldn't pass them up.

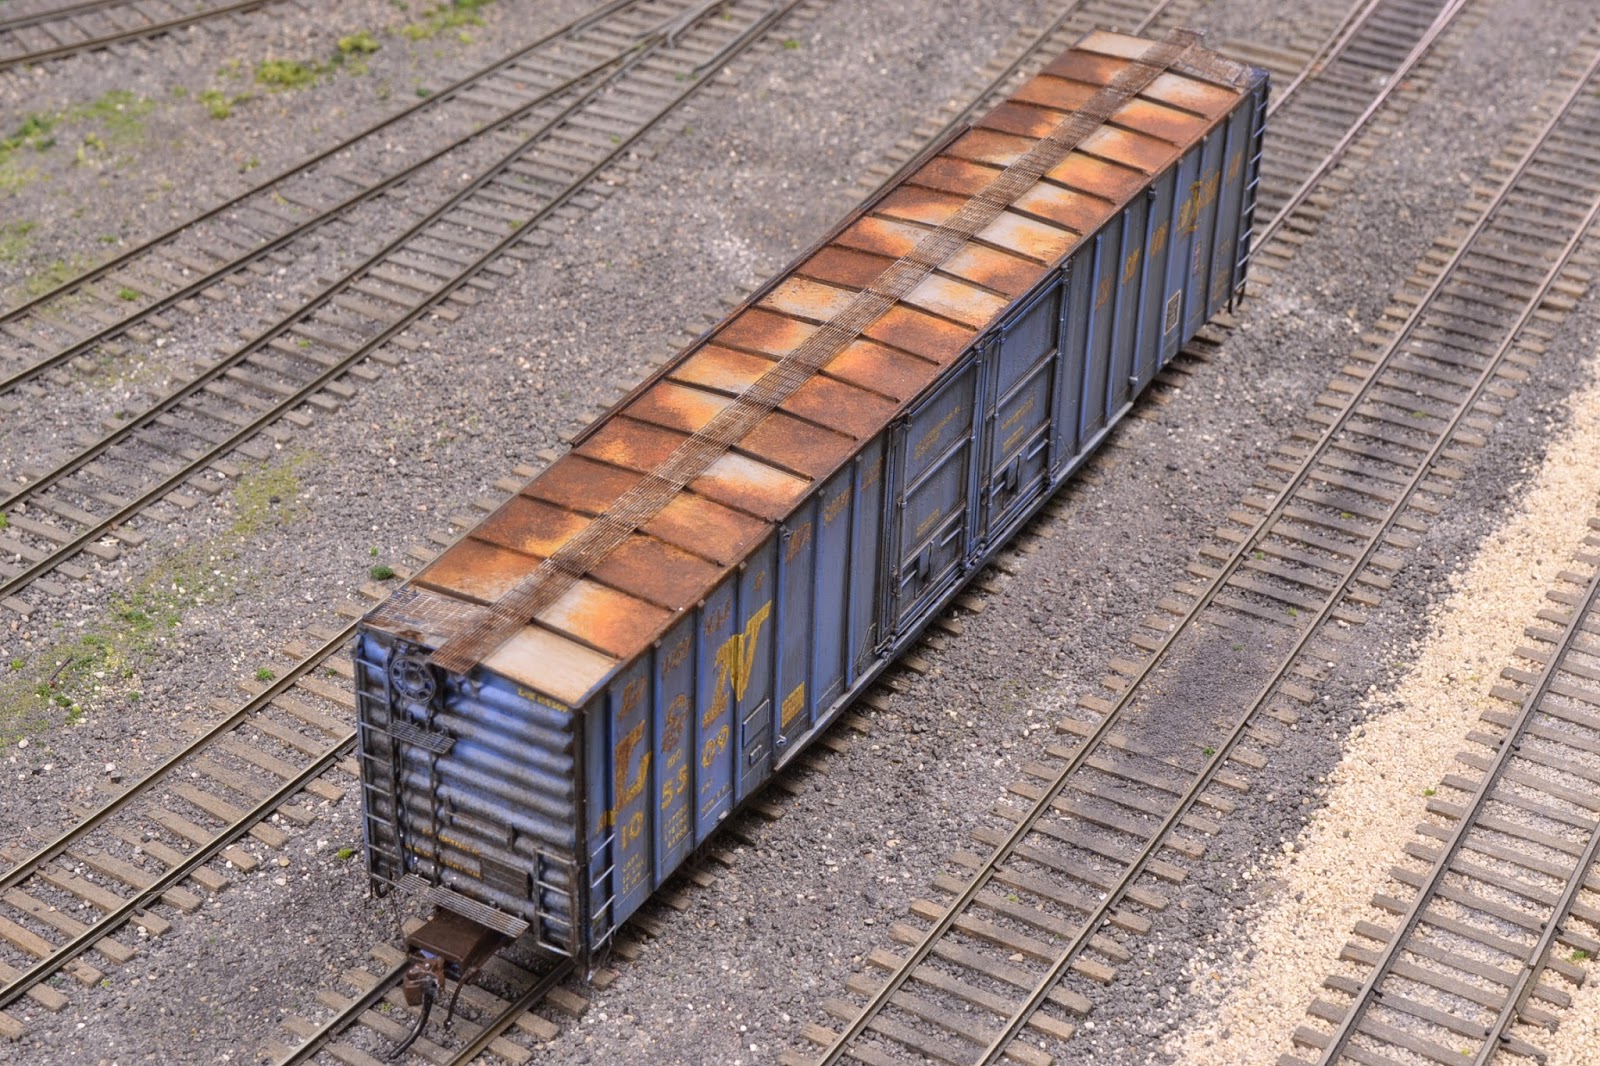
The photo below shows the original car along with the one that I just completed.


The first challenge was figuring out how to fade the blue paint. I ended up spraying a number of coats of Floquil Grime that had been thinned to about 30% paint/70% thinner. Once the paint was faded, I applied a coat of Dullcote to seal it. Next, I applied washes of artist's acrylic burnt umber and ivory black.


I was stumped for some time as to how to fade the yellow lettering. On this particular paint scheme, the yellow lettering quickly faded to a brownish color and in many cases looked more like ghost lettering that the original paint job. The model sat for some time until one day it occurred to me that a colored pencil might work. After doing some research, I bought a set of Prismacolor Premier water-soluble colored pencils. I drew over the lettering using the dark umber pencil. 


While I'm satisfied with the results, I think the regular pencils might have worked better for this application. Even though I rubbed the pencil color with my finger once it was applied, there are still more "marks" than I would like. It might be possible to take the end of a tiny stiff brush, slightly dampened with water, to smear the color a little bit to get it blend better. I might try that on the next L&N car in this paint scheme.

For the roof, I used artist's acrylic raw sienna and burnt umber and burnt sienna gouache straight from the tube. I started with the raw sienna, applying it with a cosmetic sponge, and the worked in the burnt sienna and burnt umber using both a cosmetic sponge and a stiff bristled brush.


Given how fragile these cars are, I'm a little hesitant to try and strip the paint off the second one in order to repaint it for the home road. Perhaps I'll just weather it like this one and add it to the fleet. That would certainly please the L&N fanatics among the regular crew.