
Each of the individual switch plates is a model in and of itself. First, it has to be painted black. Then the plate has to be sanded to remove the paint from the raised surfaces. The edges of the plates also have to be filed to remove any residual paint. Next, a coat of gloss is required in preparation for the decals. Once the decals have been applied, another coat of gloss is necessary in order to seal them in place. And then they are ready to install. It appears this will take a little longer than expected...
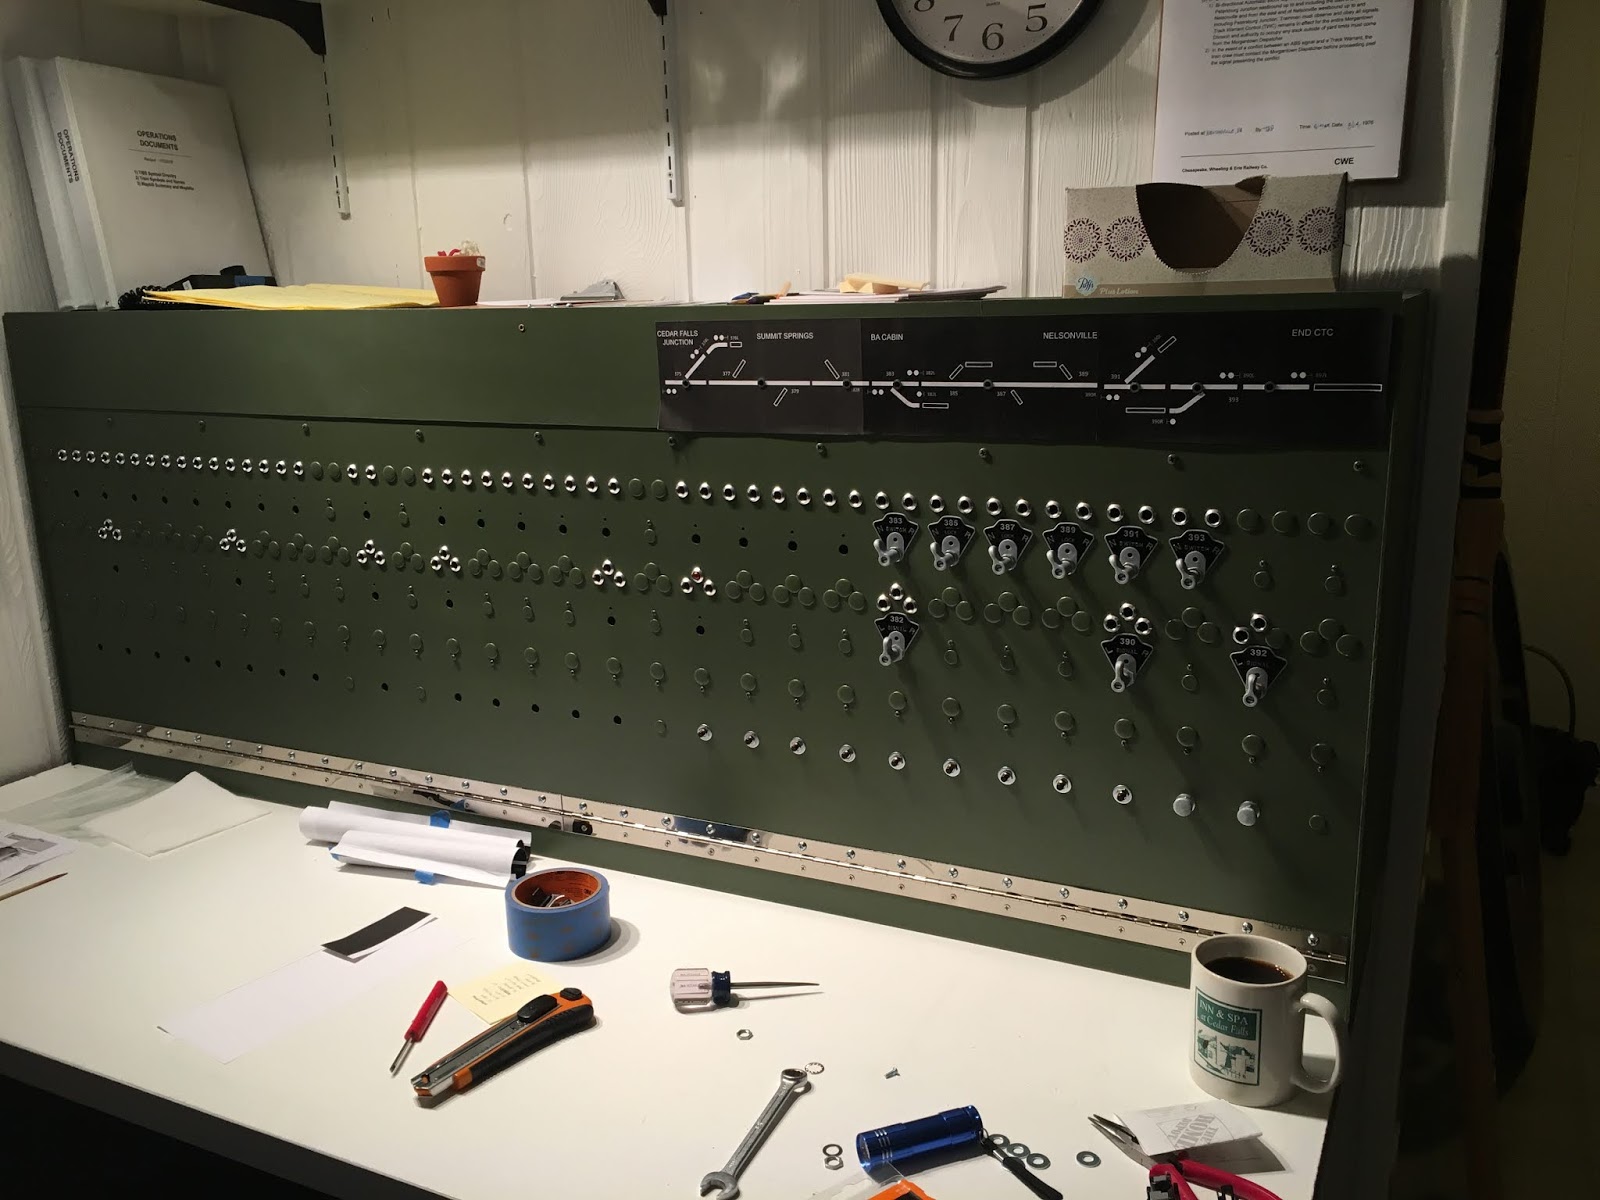
And here is an up-close shot of the panel.

In addition to the LED's, a few pieces of hardware remain to be installed to the section above.
I'm not very satisfied with how the full page Avery labels are working for the track diagram. For whatever reason, they don't want to stay fixed in place. I'm not sure what the solution will be for this problem. One option will be to take all of the labels, once everything is laid out properly, and mount them on a separate board. That board could then be taken to a commercial firm to be used as a template for the artwork for an engraved board. More to come on this.
Next up- order the DIO cards from Signals By Spreadsheet and start wiring!