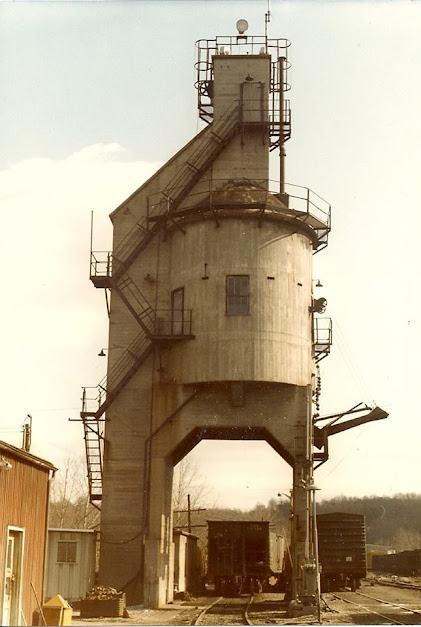
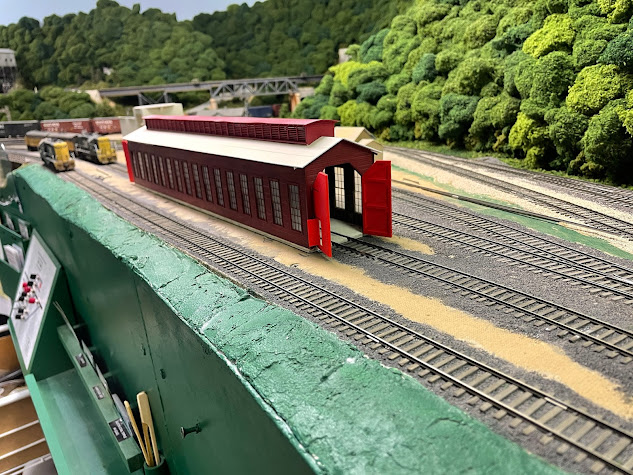
Since the first time I saw a picture of the single stall engine house on the C&O at Martin, KY, I've wanted to build a model of it. In fact, the engine terminal at Nelsonville was planned around a single stall structure. Over the years, I've collected a significant number of photos of the building. I found plans for the structure in the November 1986 issue of Mainline Modeler in the CD collection of C&O MM articles that was produced by the C&O Historical Society a number of years ago. But what was odd was that the drawings by Julian Cavalier only showed the end of the building and a cross section showing the interior framing. It finally occurred to me that the side elevation would have been a fold-out page and that's why it wasn't included on the CD. I put out a request on the internet and eventually found someone who scanned the rest of the drawing for me. Around this time I also found out that Minuteman Scale Models was offering laser cut windows and doors for the building. I quickly ordered them, along with the Evergreen siding that I would need for the project. I also made a drawing of how I would tackle the long louvers in the clerestory on the roof. Then I put everything away and wondered off to another project.
Fast forward ten years and the inspiration finally came back around. It arrived in the form of Neil Schofield's beautiful work on a typical New England barn. Looking at all of that bright white Evergreen styrene and windows got the creative juices flowing. You can see some shots of Neil's barn here on the Model Railroad Hobbyist forum: CP Rail's Newport & Lyndonville Subdivision | Model Railroad Hobbyist magazine (model-railroad-hobbyist.com). So I got out all the plans and information, reviewed all of the pictures, and got started. The picture below shows the progress on one of the sides along with the elevation drawing.
While working on the sides, I also started on the louvers. My original plan was to build a long strip of stringers for the individual slats and then cut them to size. The drawing below shows how this would be accomplished.
It quickly became apparent that there was no way I was going to be able to cut the stringers into 4" wide strips. Do you know how wide 4" is in HO scale? So it was on to plan B. I thought I might be able to place 2x6's at an angle on 2x4's and build up the louvers individually. I made a jig to hold the 2x6's at a 60 degree angle while the glue dried and used a small piece of basswood to provide spacing between them. You can see the initial setup below.
While the spacing looked good, it seemed as though gluing the 2x6's to the 2x4's on the edge wasn't going to provide a very sturdy sub-assembly. So I came up with plan C. I thought I could glue small pieces of 2x3's to 2x6's and build the louvers up in this manner. The photo below shows the results of the test.
There were several things wrong with this approach. First and foremost, there was simply no way I was going to be able to build the louvers this way. I don't have enough time left in my life. Secondly, they just didn't look right when held at the angle that they would be mounted on the building. So it was on to plan D.
I had given up on the idea of building louvers that you could actually see through. It seemed the only solution was to construct them as a solid structure and make them appear as though there were openings in them. I took piece of 2x12, glued a 2x2 to the edge, and then started building a jig. It seemed as though this just might work. Paint the area between the louvers black and it would help hide the fact that you couldn't actually see through it. The photo below shows the results.
Eventually I finished the jig and it had eight louvers in it. But the section was small, gluing the 2x2's to the 2x12's was a pain, and it became clear that this wasn't going to be a very fast way of constructing all the louvers. And I was struggling with how to make these pieces into all the sections that would be needed to span the length of the roof. So now what?
As I was working on the wood jig above, I moved the assembly from plan B out of the way. I was getting ready to pitch it when I noticed that it was pretty sturdy. And when I flipped it over, it looked really good. So I thought there's no harm in adding a few more boards to it. Once I got going, I figured out the best way to add the 2x6's and the process began to go quickly. Most importantly, when the piece is flipped over, the louvers look great! And it would be relatively easy to connect these sections together. The photo below shows the progress using this method.
I got pretty discouraged at various times while trying to figure out the louvers. But fortunately, I stuck with it and didn't pack the whole project back into a box. It now looks like there just might be an engine house at Nelsonville in the not-too-distant future!


