Tuesday, January 30, 2018

A Little Video

During a recent operating session, Stuart Thayer caught some video of the action around Nelsonville. In the first clip, EC-2 is rolling through the crossovers near the east end of the yard.


In the next video, CX 412, which originated in North Pierce, is heading east toward the station at Nelsonville.


Many thanks, Stuart, for passing along the videos.


Sunday, January 21, 2018

The CWE in Print- Correction

There was one omission from the previous post, and while it isn't an article per se, I thought some folks might find it interesting. The railroad was featured in the November 2013 edition of TrainMasters.TV. The video provides some background on the location and purpose of the railroad along with a tour of the line. While TrainMasters.TV is a pay-for-view site, the CWE video is one of their free samples. Here's a link to the video: https://trainmasters.tv/videos/tmtv-2013-11-act-iib.

Sunday, January 14, 2018

The CWE in Print

There have been a number of articles over the last five years or so that featured some aspect of the CWE, be it a construction article of some type or a feature article. I thought a summary of them might make searching for a particular article a little easier than trying to guess at one of the post labels. In addition to the summary below, there will now be a label titled "CWE in Print" in the Posts block on the right hand side of the blog.

SUMMARY (in chronological order)

1) "Developing a Locomotive Paint Scheme"- July 2016 Railroad Model Craftsman; an article describing the development of the two paint schemes for the railroad's locomotives.

2) "Moving Coal on the Chesapeake, Wheeling & Erie"- June 2016 Railroad Model Craftsman: a feature article on the railroad including a beautiful track plan drawn by RMC editor Stephen Priest.

3) "Writing for Model Railroad Hobbyist Magazine"- March 2013 Railroad Model Hobbyist: a short article on how to write for an online publication such as MRH. Here's a link to the article: http://model-railroad-hobbyist.com/magazine/mrh-2013-03-mar/writing-for-mrh.

4) "Modeling a Coal Loader"- December 2012 and January 2013 Railroad Model Hobbyist: a two-part article on scratch-building the tipple at Big Chimney, WV. Here are links to the two articles:https://issuu.com/mr-hobbyist/docs/mrh12-12-dec2012-ol?viewMode=presentation   and http://mrhpub.com/2013-01-jan/port/files/assets/basic-html/index.html#166.

5) "Build a Diesel Fuel Storage Tank"- May 2012 Railroad Model Hobbyist: a short article on scratch-building the diesel fuel storage tank at North Pierce. Here's a link to the article: https://issuu.com/mr-hobbyist/docs/mrh12-05-may2012-ol?viewMode=presentation.

6) "Build an Out-of-Service Train Order Signal"- February 2012 Model Railroad Hobbyist: a short article on scratch-building the out-of-service train order signal at Petersburg Jct. Here's a link to the article: http://model-railroad-hobbyist.com/magazine/mrh-2012-02-feb/train_order_signal.

7) "Central Valley Bridge Kitbash"- November 2011 Model Railroad Hobbyist: an article on modifying the classic Central Valley truss bridge to more closely represent a heavy duty mainline bridge. Here's a link to the article: http://model-railroad-hobbyist.com/magazine/mrh-2011-11-nov/kitbash-truss.


Friday, December 29, 2017

The End is Near...

No, not the end of the world. And the title doesn't even refer to the end of 2017 although that is rapidly approaching. It's the end of the poly fiber trees that is near. Over the past week or so I finished covering the Styrofoam lift-out behind the engine terminal at North Pierce. I waited to cover the lift-out until all of the tracks were operational in service area and the ballasting and scenery was finished. The photo below shows how this area has looked for a long, long time.


And the photos below show the results of the recent work.


A quick observation about the light green colored trees- that color will fade over time. I assume it's due to the fluorescent lighting, but it has happened all over the railroad. The colors all fade slightly and end up with a subtle variation that works well in my environment. Also, there will be another post soon on how the engine terminal was ballasted and the momentum is has provided for structures in this area.

So after what feels like fifty years and tens of thousands of trees, there is only one, small stretch of hardshell that remains to be covered. The photo below shows the hillside by the to-be-built Austin Coal tipple in Nelsonville. While I'm close to the design of the structure, it hasn't been finalized yet. And I want to wait until the plans have been developed before I start scenery in this area.


While a large number of projects remain to keep me busy, and as we all know, a railroad is never finished, for the very first time it has begun to feel as though the layout is approaching the point where it is largely complete. And that means it's time to seriously start planning for the expansion into the crew lounge. Stay tuned.

Saturday, December 23, 2017

Wheels of Time Lumber Load- Finale

Well... that was just awful! As easy as it was to assemble all of the individual loads, applying the straps was a true PITA. I used thin black tape which has an adhesive on the back but the strips are so thin that the adhesive wasn't much help. The straps still had to be held in place until the ACC dried. And it just seemed like it would never end. After I finished the first row, it became obvious that I was never going to get through two loads this time around. So I punted and only completed one of them. But alas, one of them is done- see below.


As I was working to complete the load, I struggled with how I was going to make it removable. Last night, I looked through the folder I have with old flatcar articles in it and the solution was in the very first article. Bob Rivard,  who's work I have long admired, did an article in the January 2014 issue of the NMRA Magazine titled "Modeling Canadian Pacific Flatcars." Bob used a trio of Proto 2000 flatcar kits for his article, and he described in detail how he made the lumber loads. In order to make the loads removable, he took four pieces of 2x6 basswood, cut them to the width of the deck, and then inserted pins made of wire to hold them in place. He then glued the load to these pieces. It's a brilliant solution, and I copied his technique. The only difference is I used two pieces of 2x6 instead of the four he used.


For appearance sake, I may go back and two more. And the load really does need some additional blocking in order to be prototypically correct. I may yet try and figure out how to do that as well, but for now, I'm declaring this project finished- finally!!!

Saturday, December 16, 2017

Photo Fun

As I walked out of the railroad room the other night, I saw DC-15 out of the corner of my eye. The train is in the process of being re-staged at Nelsonville and it looked like it might be a neat photo opportunity. So this morning I grabbed the camera to take a few photos.

The photo below is the shot that I initially thought would be the best. It's a view across the leads to the engine terminal.


While I like the perspective and the detail in the photo, the train that was supposed to be the focus of the shot is too far away. So I tried another angle.


This photo keeps most of the detail but brings the loco a little closer. Still, it wasn't quite the shot I wanted. So I changed the angle just a bit and zoomed in a little closer.


This one is much closer to what I had seen in my minds eye when I first thought of the photo opportunity. But just for kicks, I thought I'd shoot it from a slightly different angle.


While you can see the locomotive much better with this angle, it just doesn't have the same feel that the others do, at least to me. So I think I'll say that #3 is my favorite. 

Thursday, November 30, 2017

Panel Progress

The last of the new pushbutton panels has been installed, or at least those that are in the railroad room. Both the west end and east end staging panels, which are out in the crew lounge, will be replaced at some point. But for now, I'm declaring victory!

The photo below shows the new panels at Hollister Yard in North Pierce.


Replacing the old panel was a bit of work as three new RCS cards needed to be installed and wired. Additionally, electronic DPDT switches had to be installed to route power to the frogs as most of the turnouts in the yard are still controlled by Hankscraft motors. But it was worth the effort- compare the photo below of the old panel with the one above.


The new panels are significantly smaller than the old one which allowed me to cut back the shelf. This in turn provided a little more room in the aisle in this area. The difference is evident in the photo below.


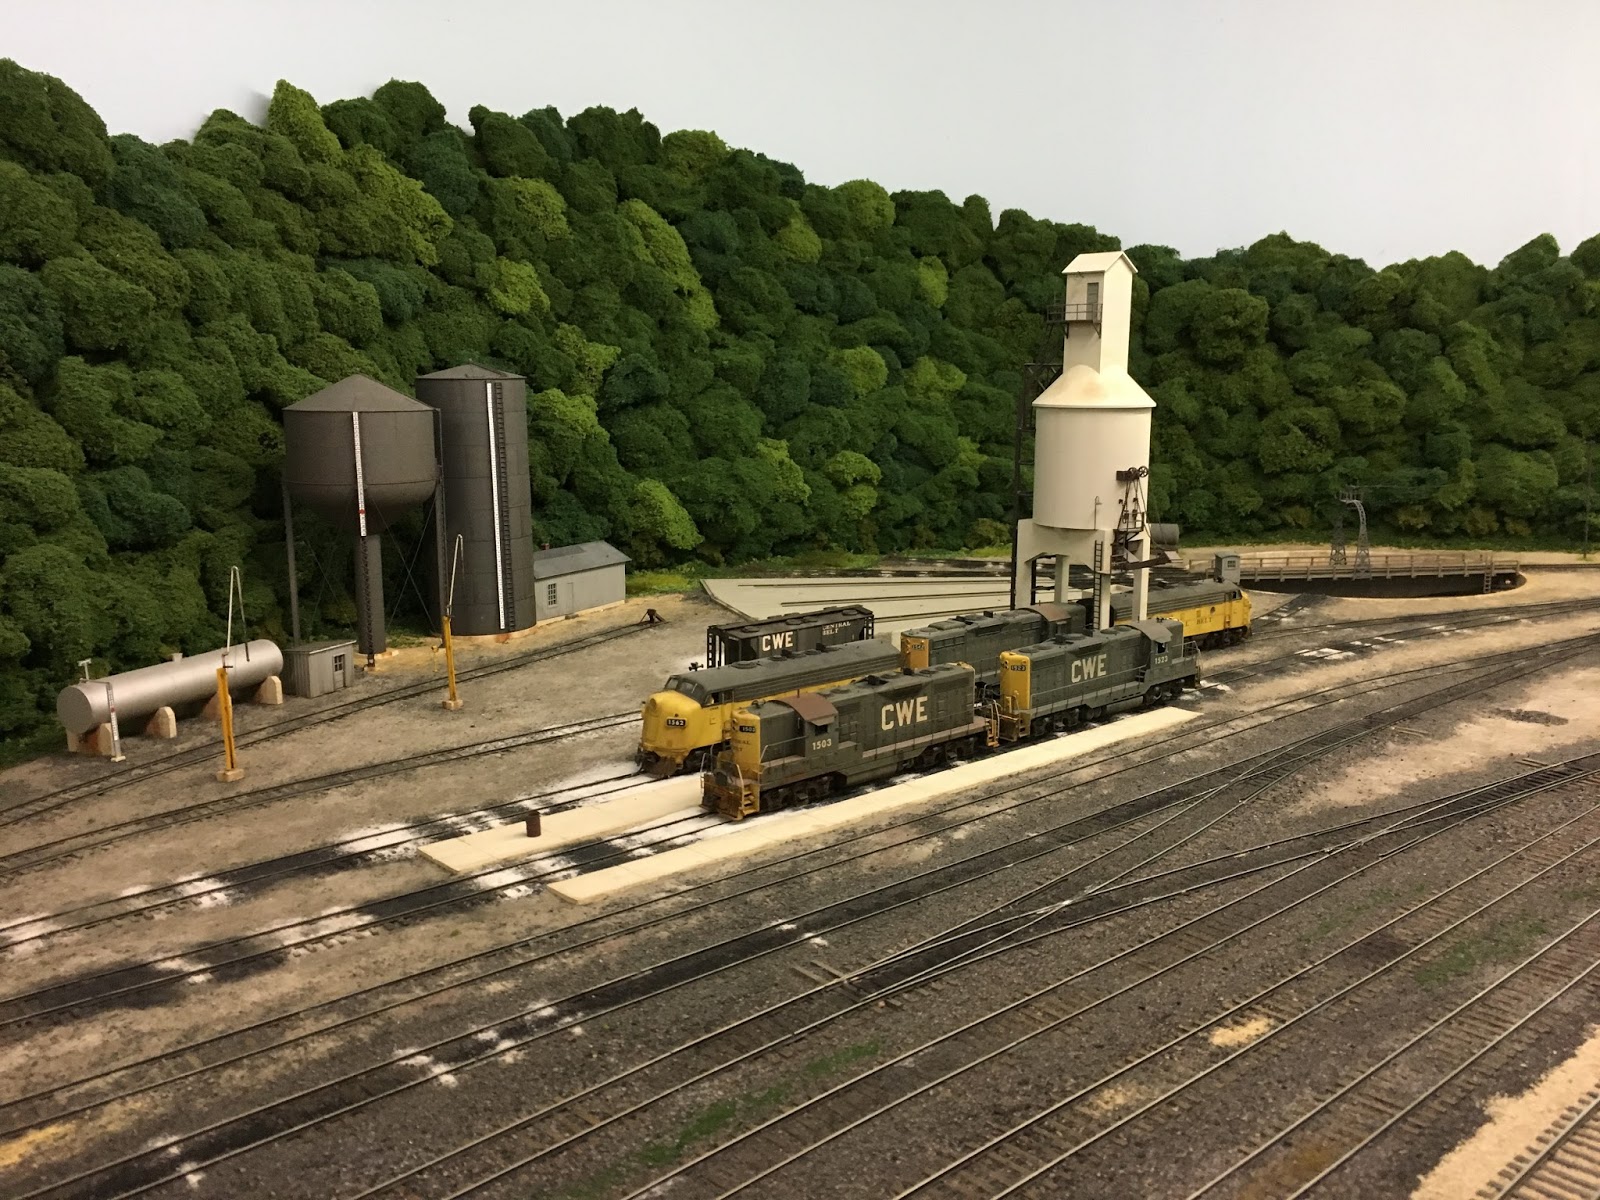
And while all of this was underway, I took some time to do some additional scenery work. The photo below shows the west end of the Nelsonville engine terminal with the ballast work completed and some additional details added.


And the biggest scenery project- completion of the ballasting in the engine terminal at North Pierce- can be seen in the photo below.


There will be a separate post on the work that's been done here, but for now, its back to weathering some freight cars and finishing another GP9. And finishing up the last op session. And weathering and installing the chain link fence at Brewer Coat in Big Chimney. And...